Image of Modify Query screen. Image of Modify Query screen. Image of Modify Query screen. Image of Modify Query screen. Image of Modify Query screen. Image of Modify Query screen. Image of Modify Query screen. Image of Modify Query screen. Image of Modify Query screen. Image of Modify Query screen. Image of Modify Query screen. Image of Modify Query screen. Image of Modify Query screen. Image of Modify Query screen. Image of Modify Query screen. Image of Modify Query screen. Image of Modify Query screen. Image of Modify Query screen. Image of Modify Query screen. Image of Modify Query screen. Image of Modify Query screen. Image of Modify Query screen. Image of Modify Query screen. Image of Modify Query screen. Image of Modify Query screen. Image of Modify Query screen. Image of Modify Query screen. Image of Modify Query screen. Image of Modify Query screen. Image of Modify Query screen. Image of Modify Query screen. Image of Modify Query screen. Image of Modify Query screen. Image of Modify Query screen. Image of Modify Query screen. Image of Modify Query screen. Image of Modify Query screen. Image of Modify Query screen. Image of Modify Query screen. Image of Modify Query screen. Image of Modify Query screen. Image of Modify Query screen.

Modifying a Query

Concept Link IconSee Also

To modify a query, first make sure the query is the current query in the Query Name pull down list, then you have two options:

  • Use the Modify button.
  • Use the Modify option from the Query menu.

Either of these will open the Modify query Window.

The program notifies you that you are about to modify a query and any range values will be reset.
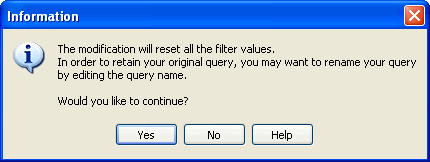
Image of Information message.

The Modify Query window appears with the last saved order of fields.

Click on the picture for more information.
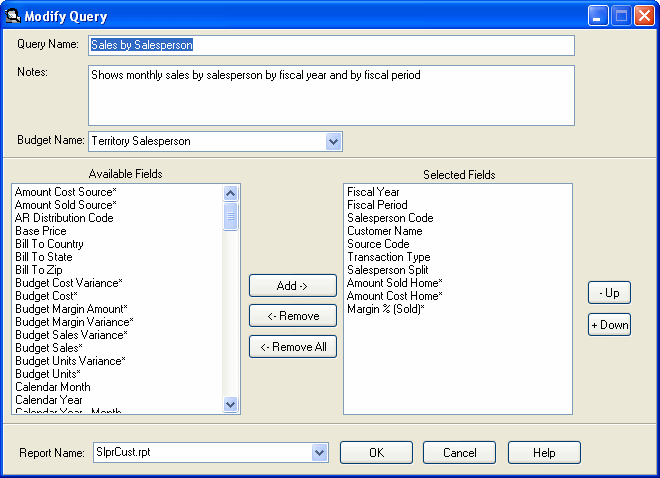
Image of Modify Query screen.

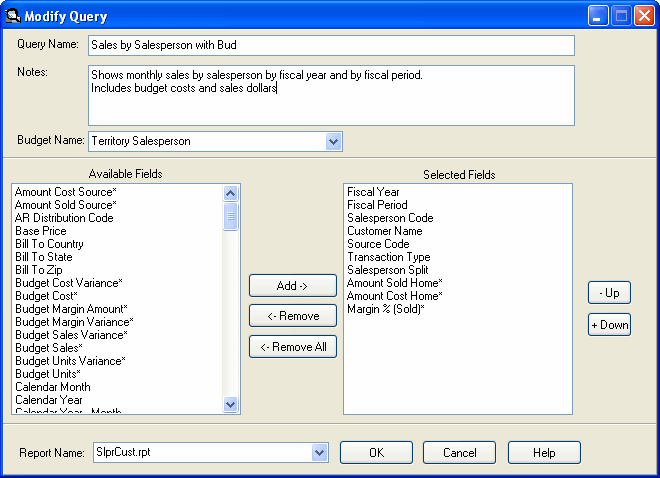
Note: If the Query Name is changed, the original query is copied and given the new name, but not saved. The original query remains unchanged.

The modification notice also recommends changing the name of the query to reflect the changes.

Click on the picture for more information.
image\IREModify2_shg.gif

Add or remove fields to/from the selected fields’ list by clicking the Add button, dragging and dropping them or double clicking on a single field. Sort the selected fields by highlighting a field and using the Up or Down buttons to change the order of the fields.

Click on the picture for more information.
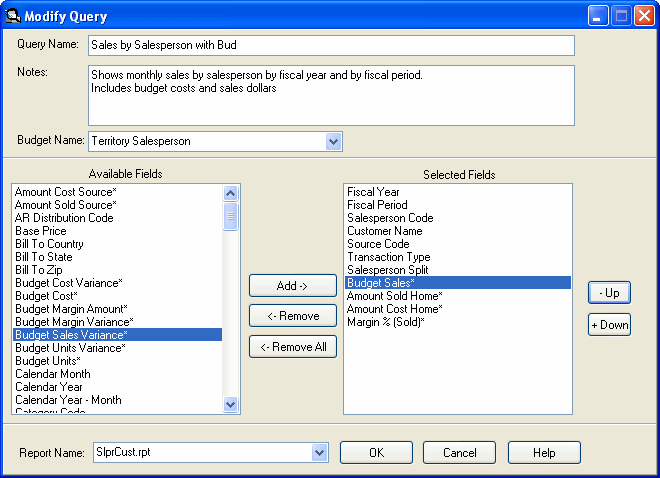
Image of Modify Query screen.

  • Click the OK button to accept the modifications and return to the main window.
  • Click the Cancel button to cancel the modifications and return to the main window, the range will be reset.

Note: If a budget is associated with the query the budget fields are automatically added as the first fields in the query.